This isn't going to be a tutorial so much as some of my observations on importing models into Procreate from Blender and some rules I've discovered that aren't in the documentation.
Some quick background information about where I'm starting from! I'm a 2D/3D artist with considerable experience with both procreate and most aspects of the 3D pipeline. Some of my thoughts might not be applicable to someone who is new to either 3D or to procreate. The iPad I use is a 1st generation iPad Pro with 2GB of RAM and an Apple Pencil. Some issues that I had are entirely hardware related and can be fixed by just getting a new iPad 😭
Procreate 5.2 introduced 3D painting, which lets users paint directly on imported 3D models! This is incredibly exciting, and I was especially excited for the potential to paint on 3D models on my iPad. I personally find it uncomfortable with painting on my computer tablet and do all of my digital painting on my iPad.
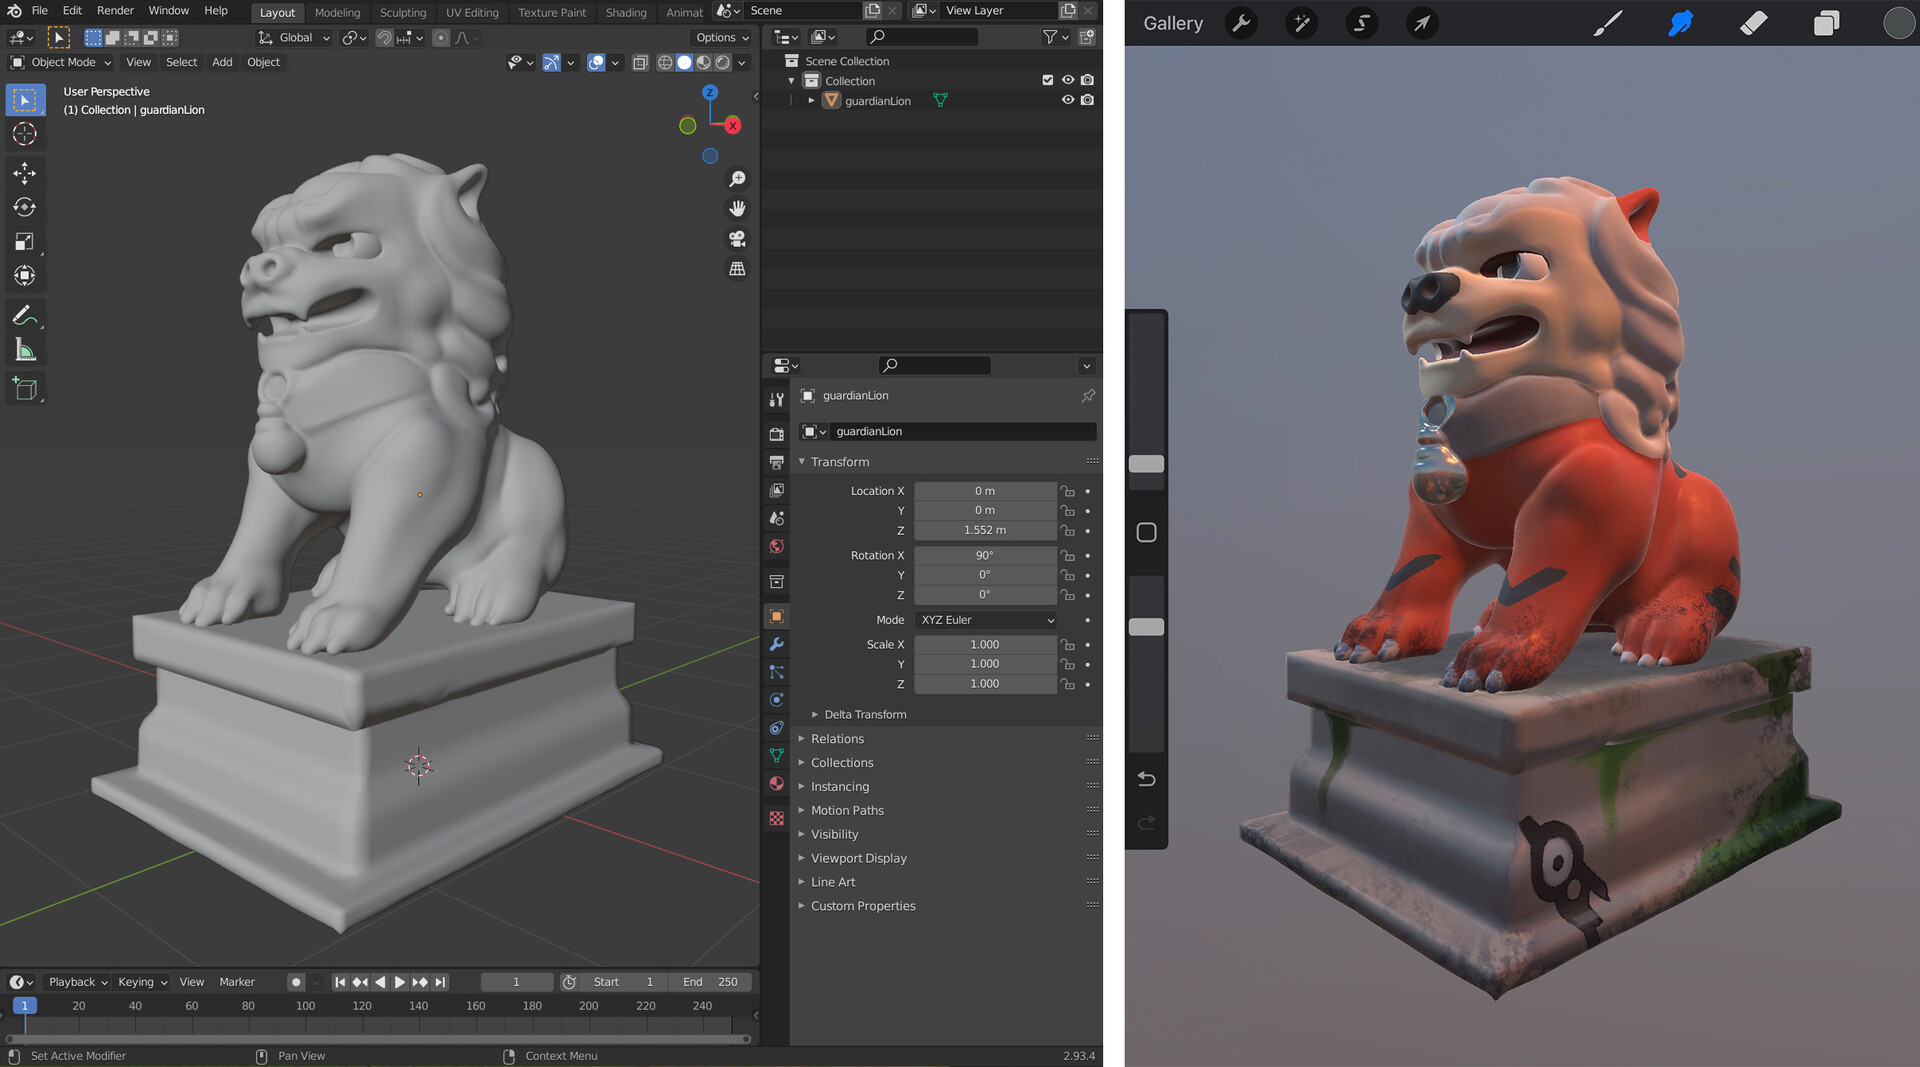
I was so excited for the 5.2 update that I spent the day before the update preparing some of my old 3d sculpts to be imported! The one I ended up using was this one of a guardian lion, sculpted in Zbrush and hastily retopologized and UV-ed. It wasn't optimized in any way, but it'll do! I was finishing dinner when the update arrived and downloaded it right at the kitchen table. And then I proceeded to paint on the lion model without moving from the table for an hour and a half. Painting in 3D! At the kitchen table! What a dream~
My initial reaction was that the 3D painting feature is AMAZING. It runs so smoothly even on my old iPad, that it made me cry tears of joy. I was immediately comfortable with the navigation and intuitively understood how the lights and texture maps worked. If you have any experience at all with hand painting textures, the transition to procreate is smooth. If you want to learn more about the basic features, Procreate has a very useful handbook that they keep up to date with any new features. They explain the file types that are compatible (.USDZ or .OBJ) and what UVs are. Procreate won't accept models without UVs.
EDIT: Procreate has added a tutorial on how to import models with larger maps, normals, and AO [HERE]
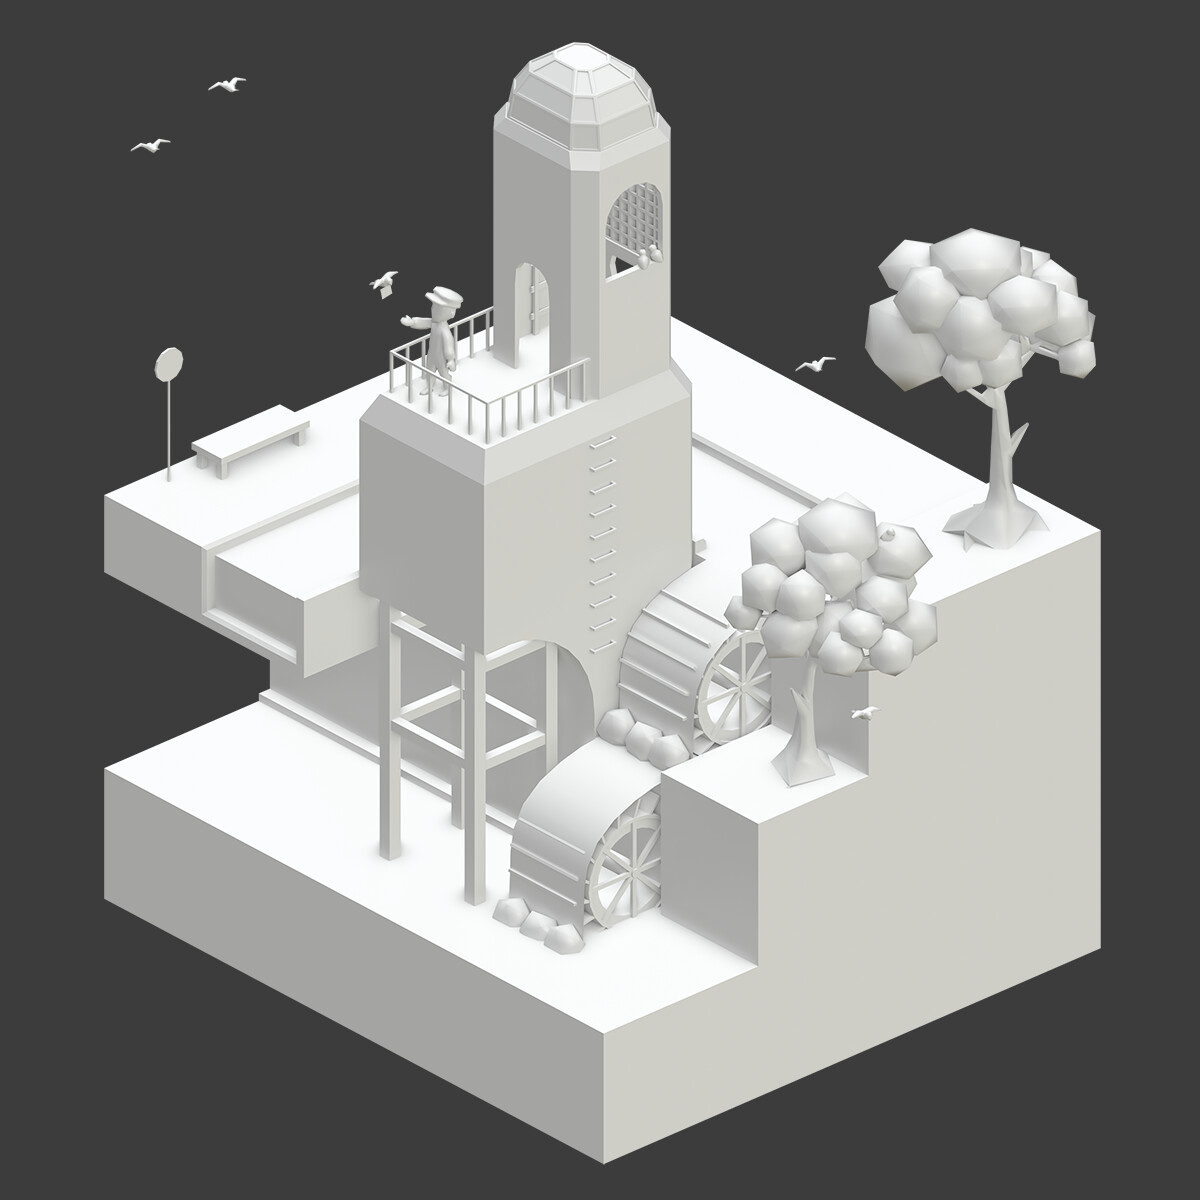
I've seen tutorials on how to get models from Forger or Nomad Sculpt into Procreate, but I wondered what the steps were for Blender. I chose a different model that had more pieces and multiple UVs to test with and made note of some interesting behaviors. For the most part, the pipeline is pretty simple. Export to .OBJ, upload the files to your iPad via dropbox, airdrop, etc., import files to Procreate.
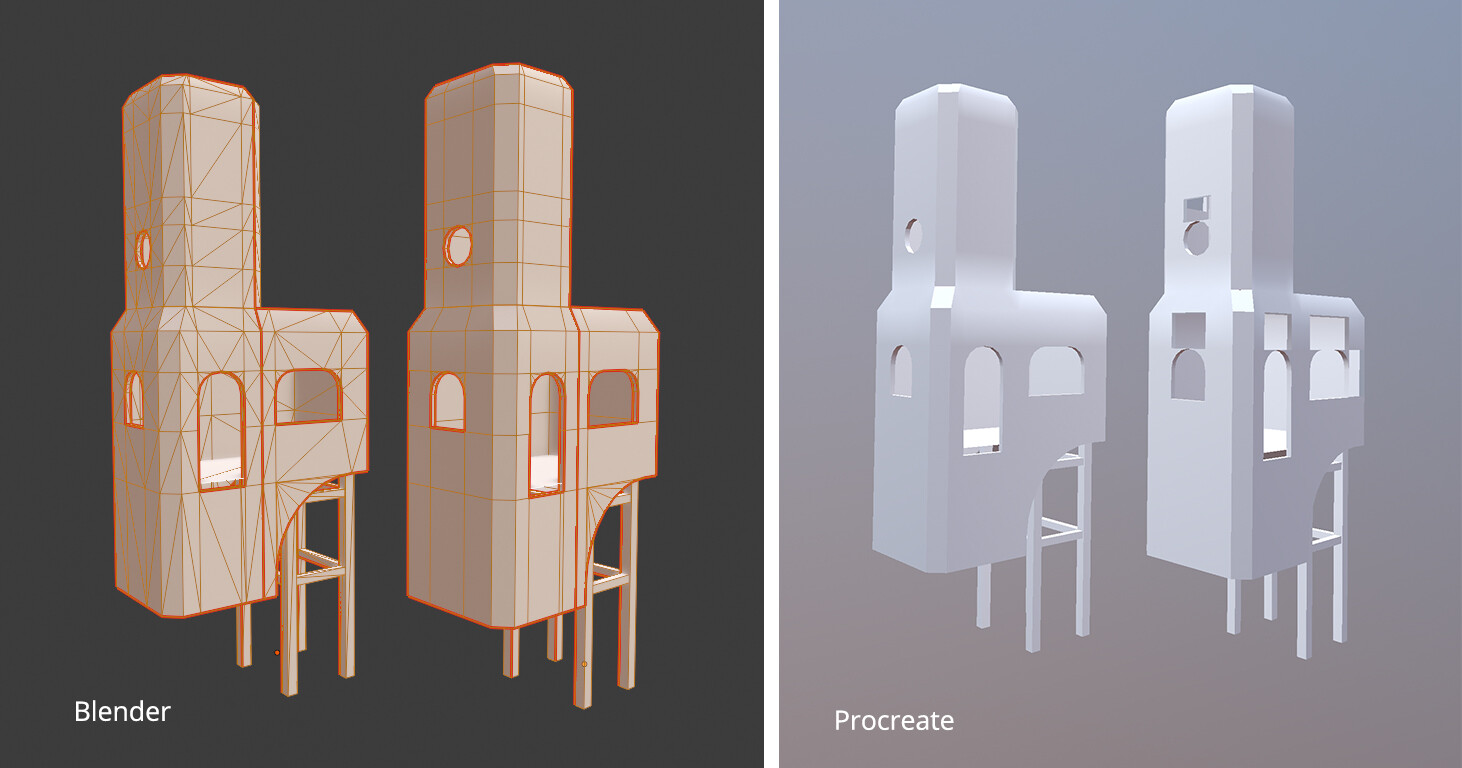
(1) Like a lot of 3D programs, Procreate likes Quads and Tris. But it doesn't seem to know what to do with n-gons. It'll literally just make those faces disappear, which is kind of funny. This has an easy solution; just triangulate your mesh before you export! Problem solved!
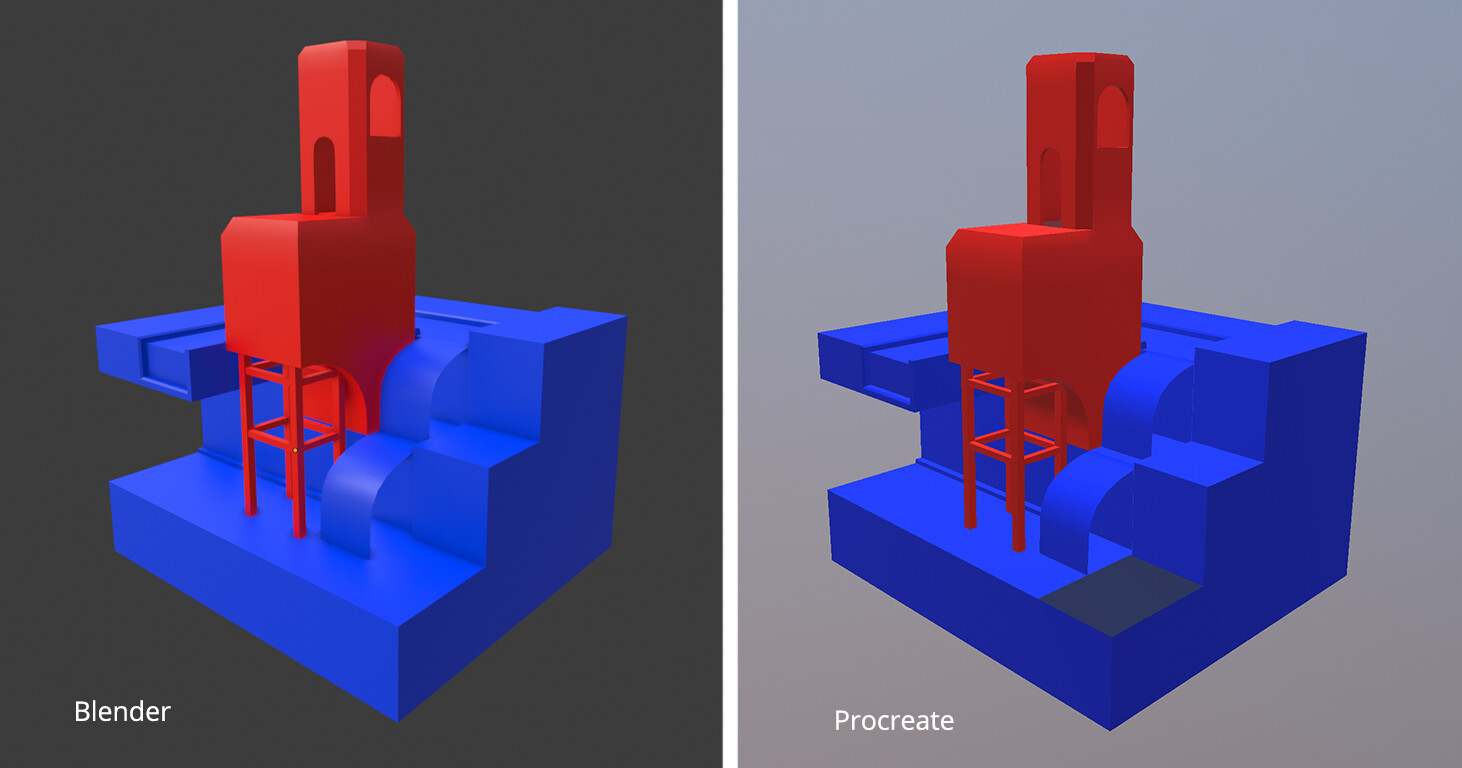
(2) You can import models that have pieces with different UV sets. I knew Procreate could handle multiple objects with different UV layouts, because some of the sample files have that. Assign the objects different materials before you export, or Procreate will assume they're all using the same texture.
(3) Related to (2), there is a layer limit in all Procreate files, and the number of layers you can have depends on how powerful your iPad is. As a 1st generation iPad, I have a very pitiful layer limit! I've learned that the layer limit also applies to the number of UV layouts you can have. I organized my scene into 6 different layouts, but that's over my layer limit so procreate brings up an error when I try to import the full scene 😭
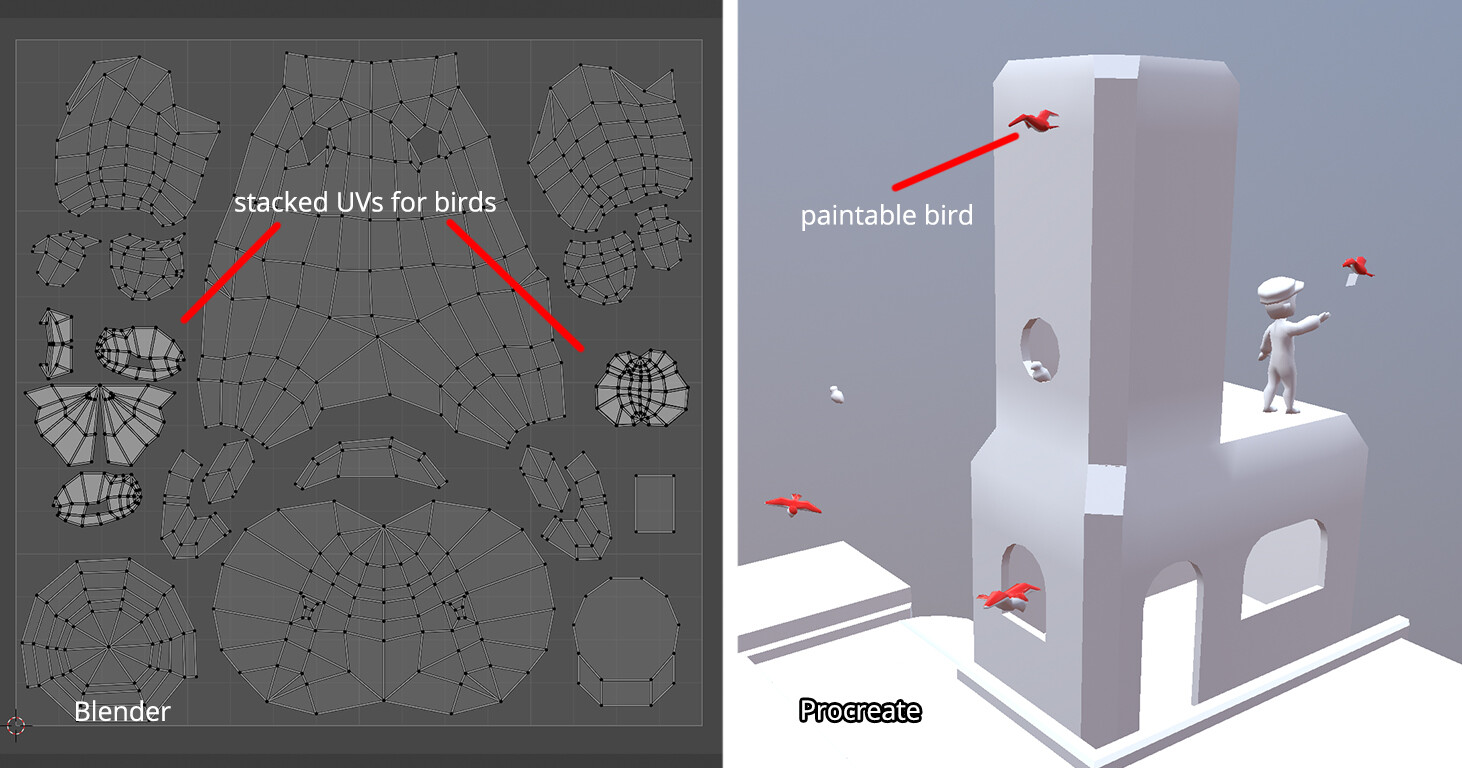
(4) If multiple objects share the same UVs, stacking them on top of each other saves on space and time, since you'll only need to paint one and it'll repeat on everything in the stack. Procreate did something interesting when I tried to paint on the birds, which all have the same UVs. It didn't let me paint on any of the birds except one of them. I think it only lets you paint on the object that's on the top of the stack, so to speak. It's not that big of a problem, but it did lead to me spinning the model around a lot, trying to find the right bird to paint on.
There are a few other notes that I made that others have addressed, such as how to get the textures to 4K in procreate, since it defaults to 2K textures. I just wanted to share my thoughts and observations in importing from blender with a variety of different objects.
Overall I am very impressed with how Procreate handles 3d models. It doesn't seem to have any issue at all when importing large models, as long as they have a UV map and no n-gons. I actually imported a photogrammetry model that was about 700k Tris with no problem at all. Most of the issues that I personally had were hardware limitations on my end not liking the layer limit. That does prevent me from using the 3D painting feature more, but if I ever get a better iPad then I'll be happy to revisit!